I've noticed that most bicycle repair guides on the Internet are written by people who know what they're doing. This is probably a good thing, but these resources also tend to assume their readers have some level of background knowledge and basic competence. Since I'm not handicapped by basic competence I'm uniquely qualified to write a more approachable take on bicycle repair. My bike is a mid-nineties mountain bike, but the similar principles apply to most bikes built since the mid 1980s.
This article is intended to supplement articles written by competent people. If you haven't already read Park Tool's guide go do that.
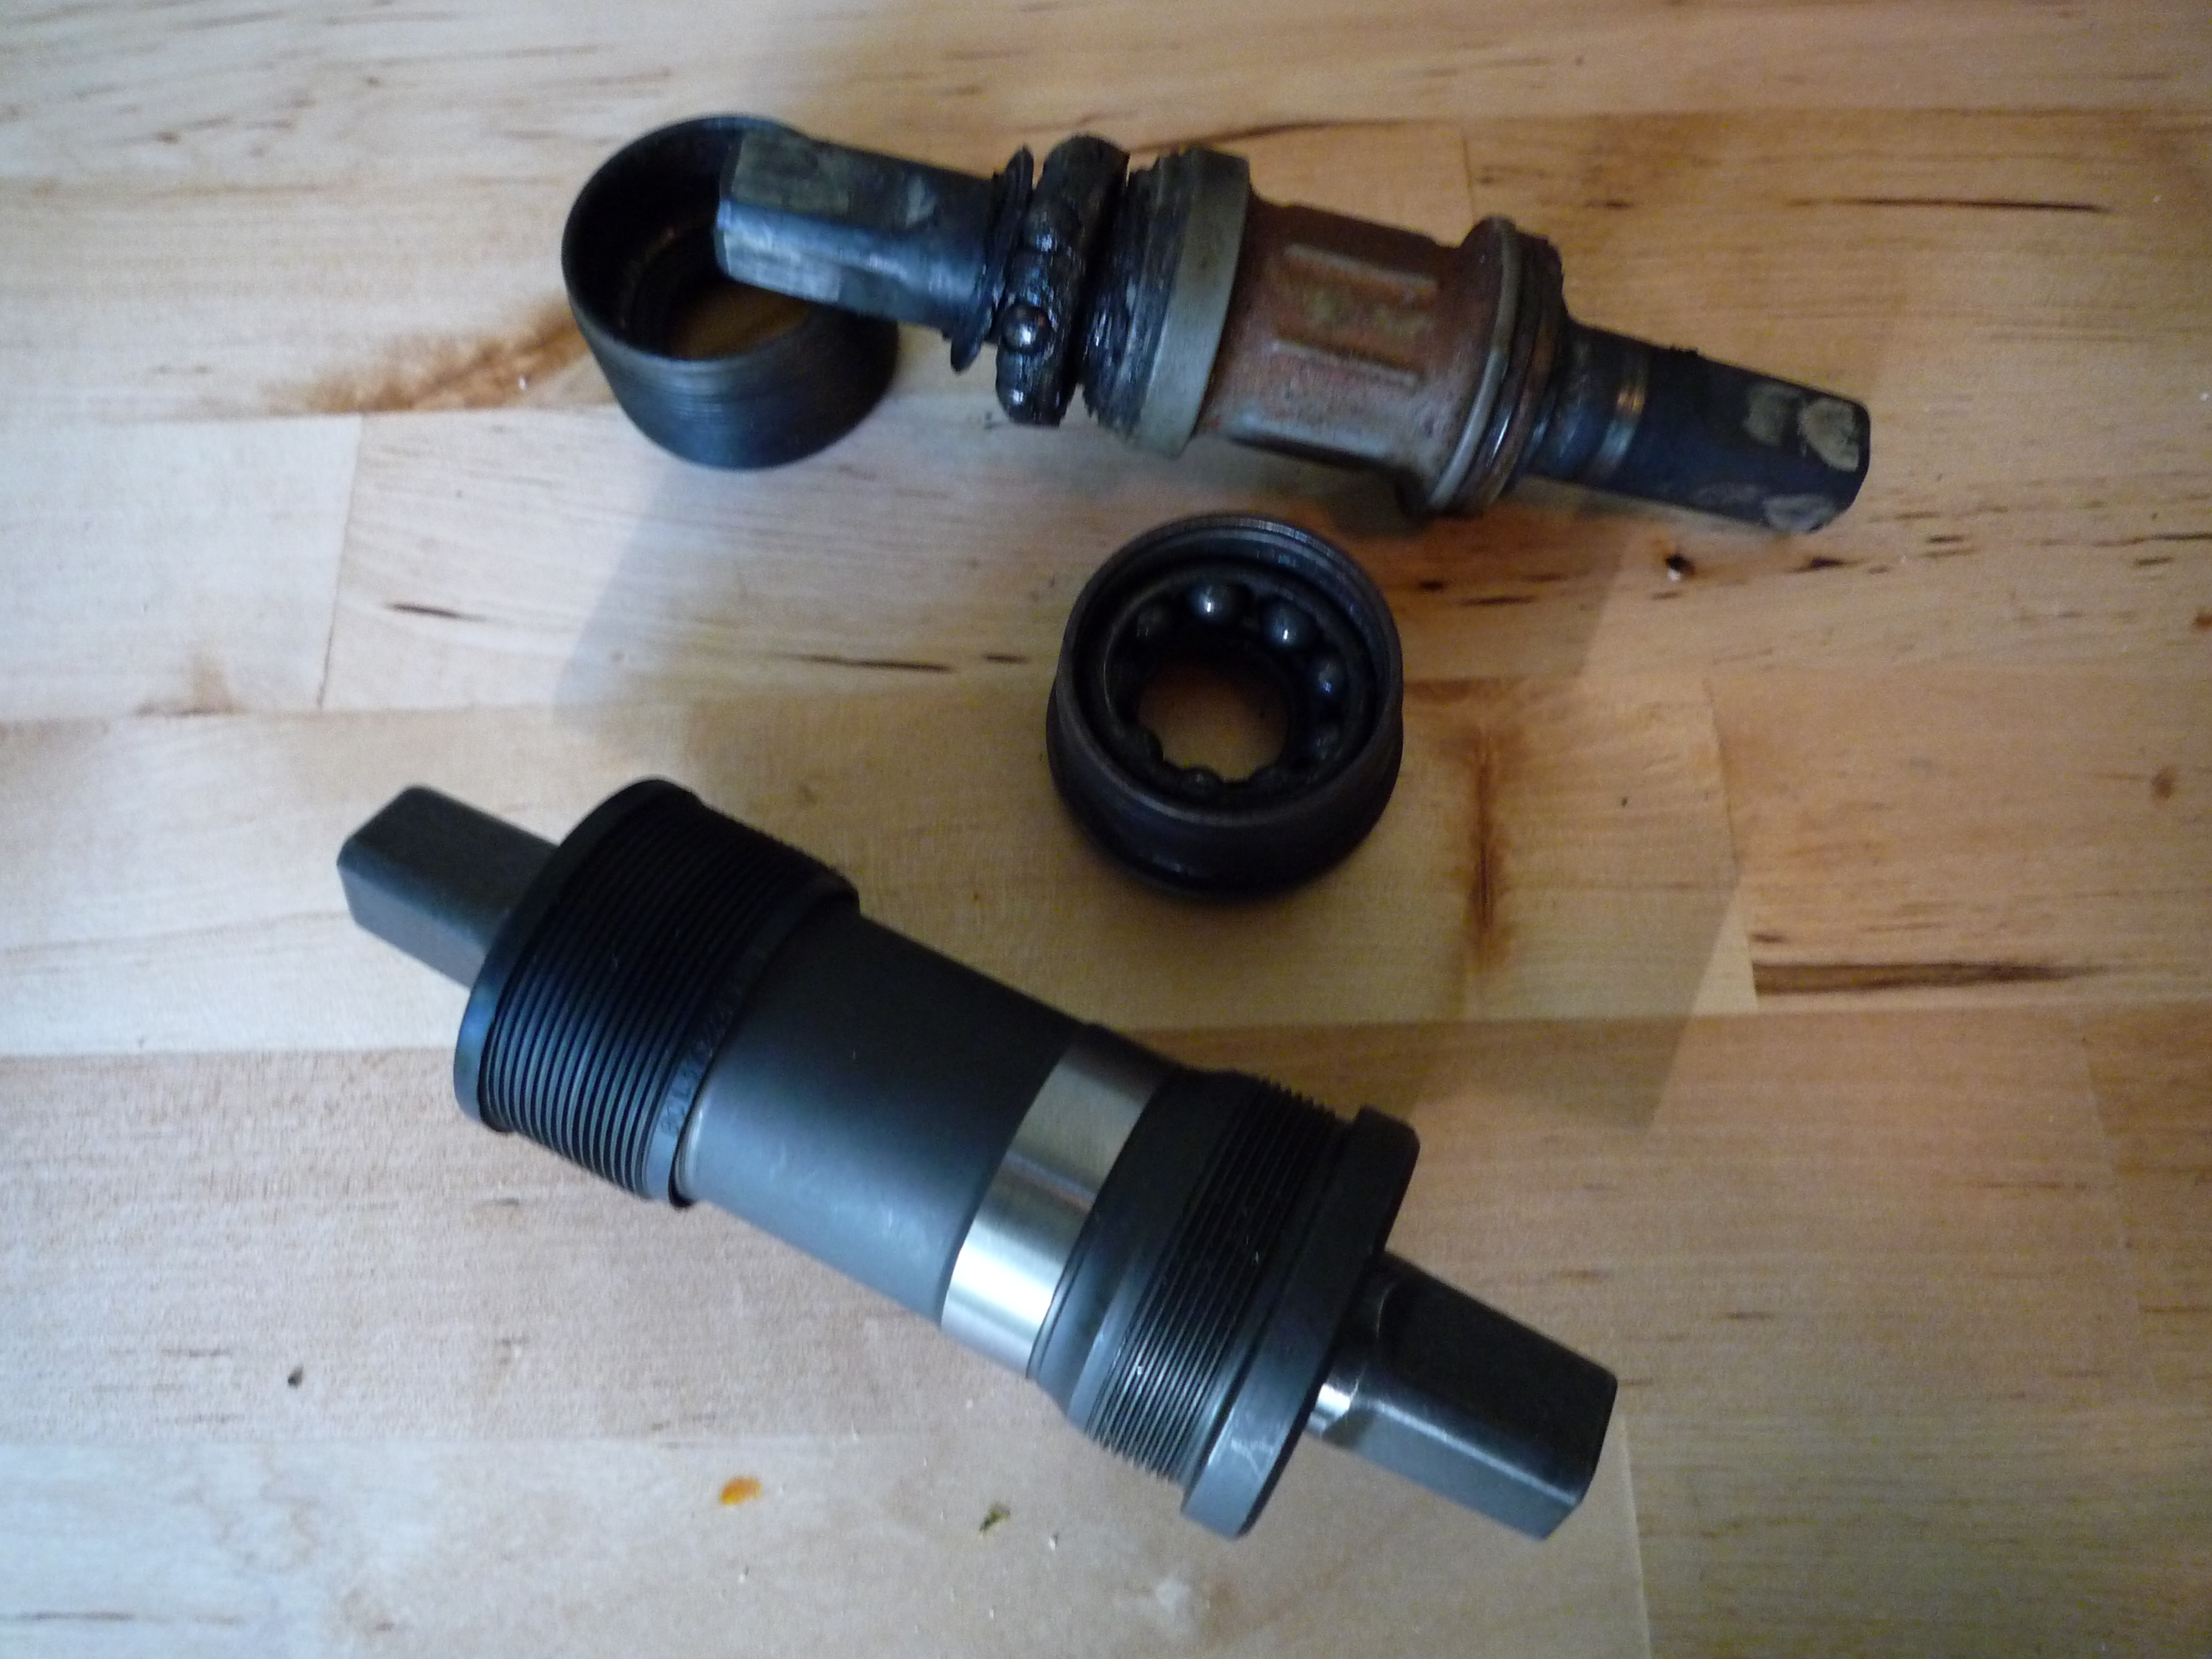
What's a bottom bracket?
The bottom bracket is the axle doohickey that the pedals spin around. This particular article is about square taper bottom brackets.
Why should I replace my bottom bracket?
I replaced mine because my pedals had so much side-to-side play that I couldn't adjust my front derailer properly. The chain could move all over the place and spent most of its time rubbing the derailer cage. Dead and dying bottom brackets can apparently also make awful grinding noises, though mine never did.
How do I buy the right replacement?
The easiest way is to ask a bike shop, but you'll never learn self reliance if you go around asking people for help all the time!
You can figure it out yourself by looking up your bike on Bikepedia. The two important numbers are the spindle width and the bottom bracket shell width. The spindle width is how wide the unit is Spindle width affects how far from the frame your pedals and cranks will be, if you get the wrong spindle width your chainline will be off. The shell width is the diameter of the assembly that you install into the frame.
Googling around is also a good idea.
If your research reveals that you have a splined bottom bracket (Octalink or ISIS) then congratulations, you have a fancy bike! Unfortunately this guide is about square taper bottom brackets (read on if you'd like though, the process is pretty similar).
What tools do I need?
The first two tools can be found in basic bike tool kits like this one:
- A crank extractor
- Cartridge bottom bracket tool
- A bike stand. Doing this with the bike on the ground or balanced upside down would be no fun.
- Grease. Fancy expensive bicycle grease exists, I used automotive chassis lube
You might also need allen wrenches and a screw driver. Having a socket set handy is also a good idea.
What do?
-
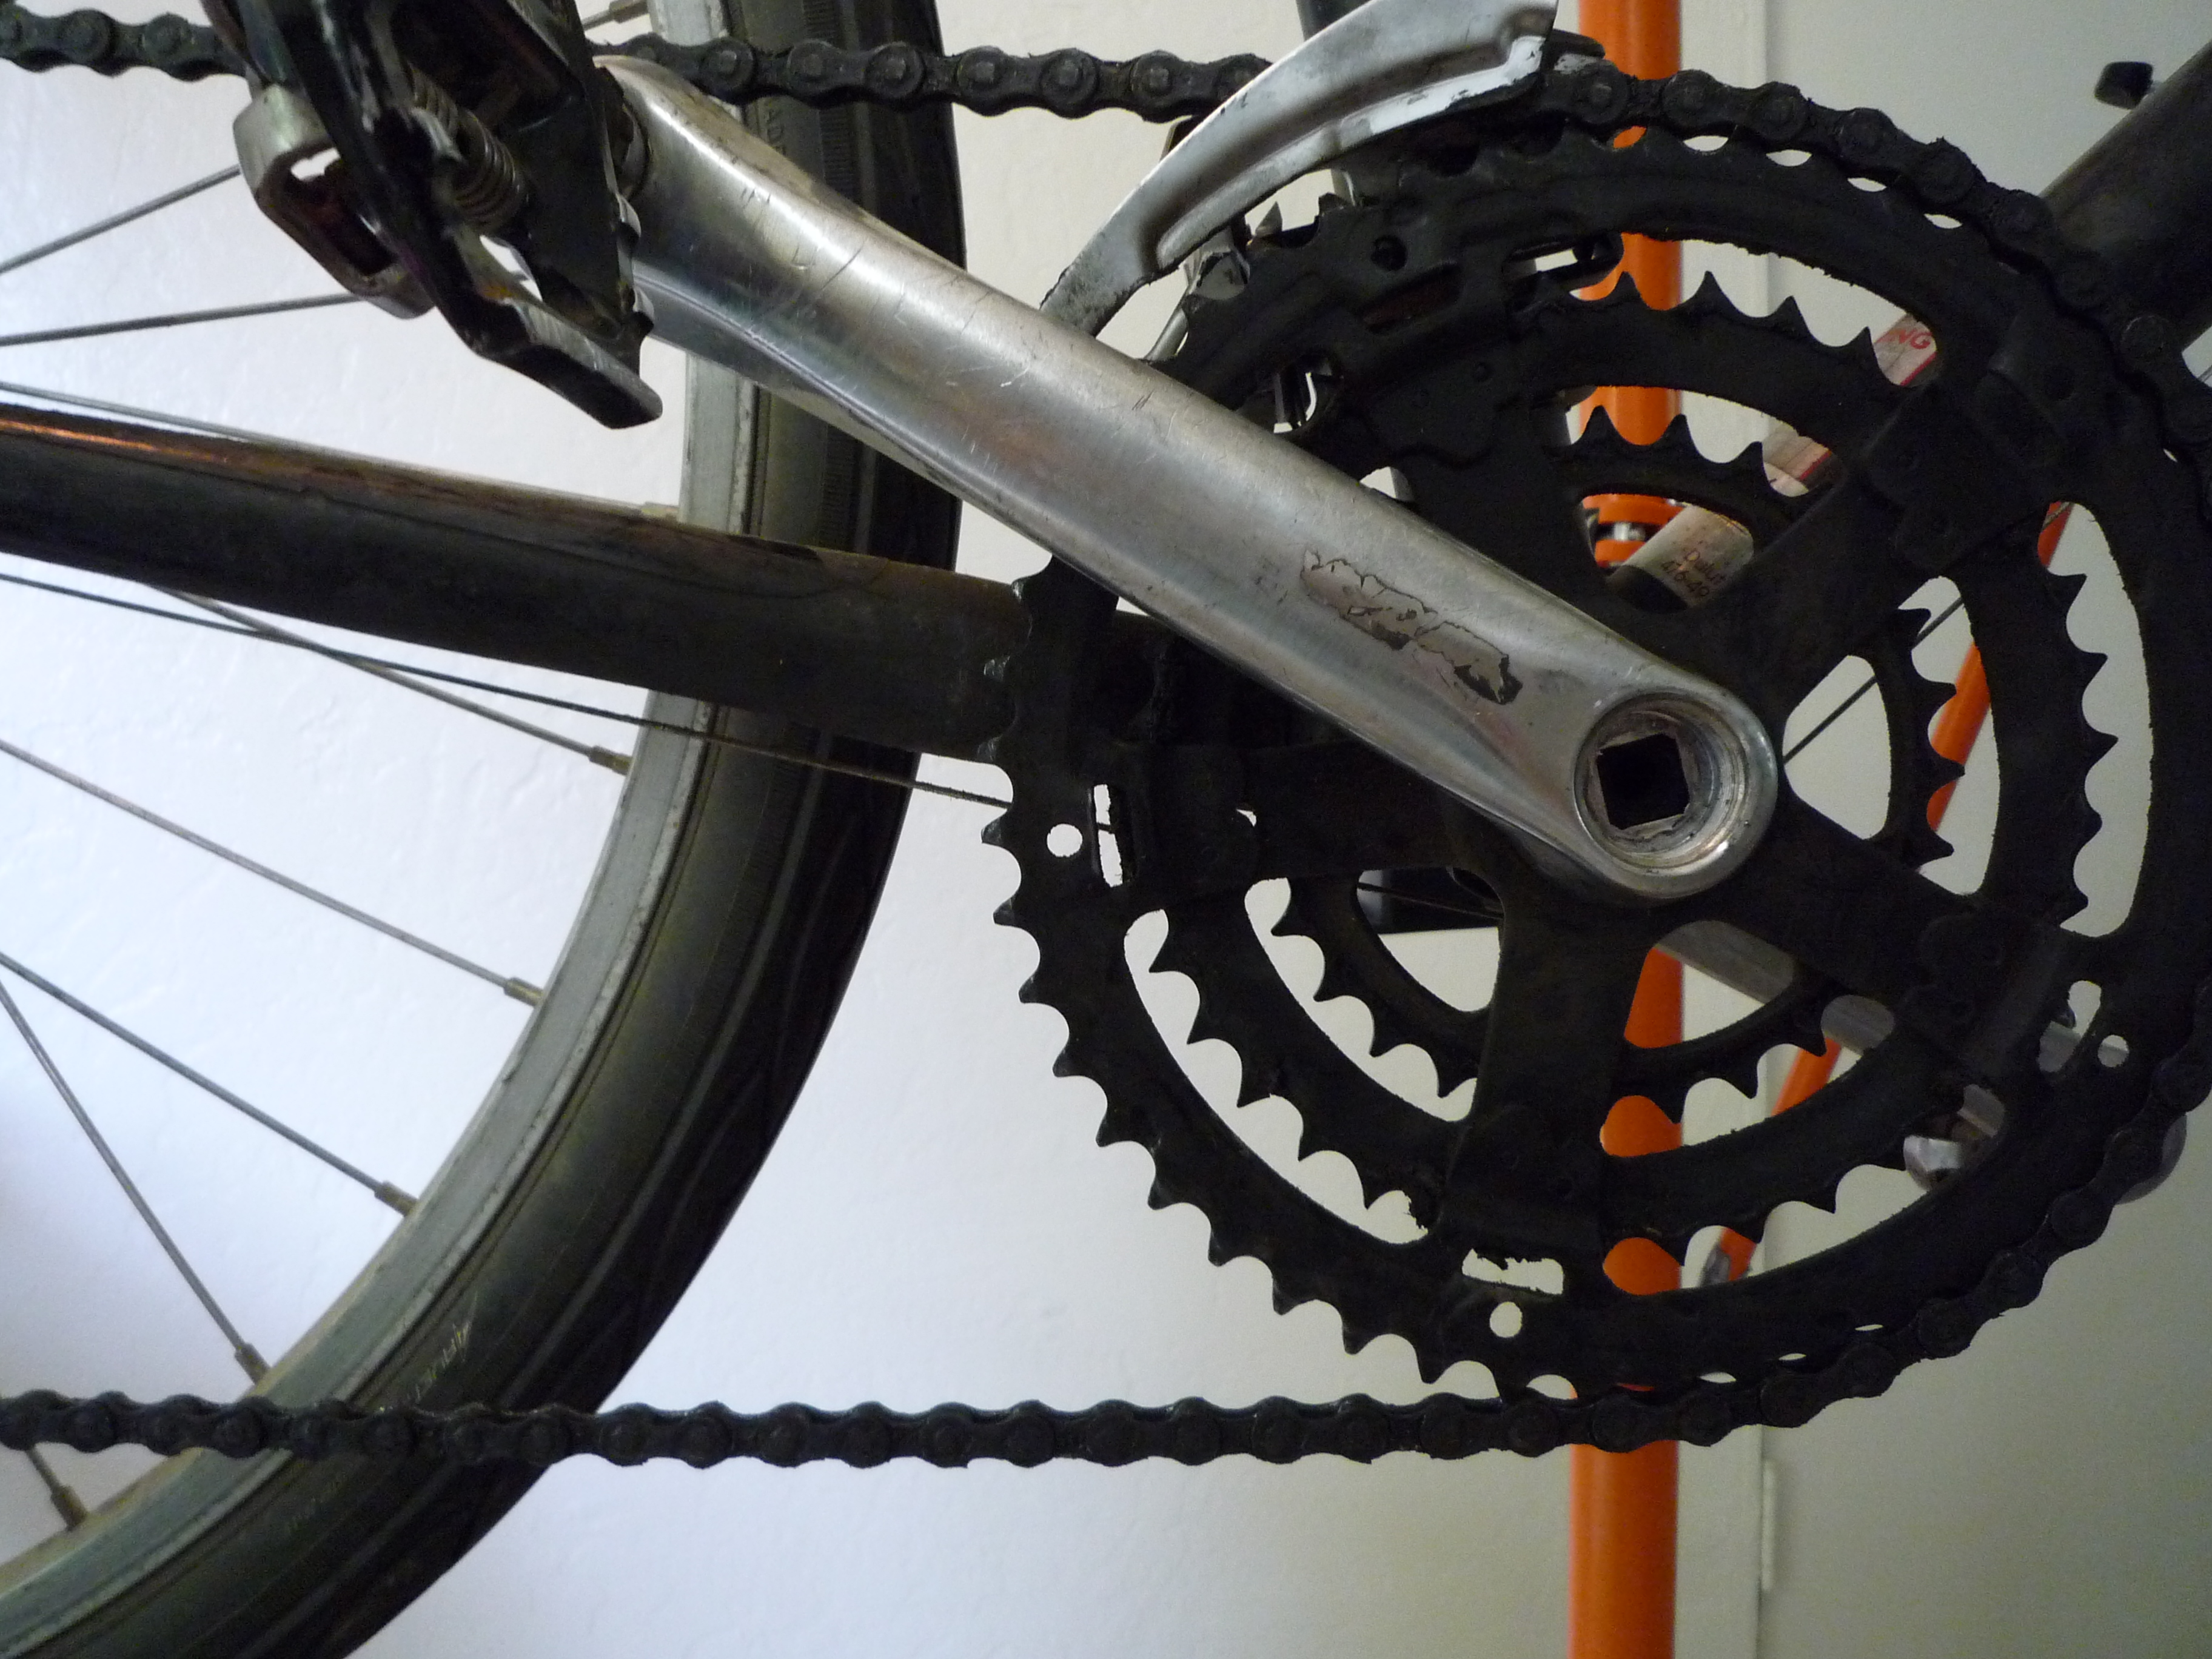
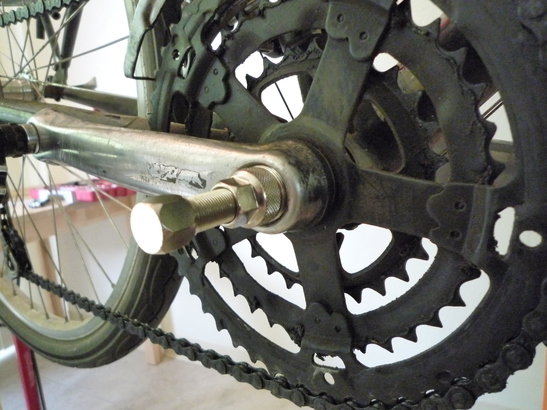
The first step is to remove the cranks, if there are dust covers over the crank nuts remove them. I pried mine off with a flathead screwdriver, some require an allen wrench. You should see something like this:

Remove the nut from the spindle (there might also be a washer). Don't lose them!
-
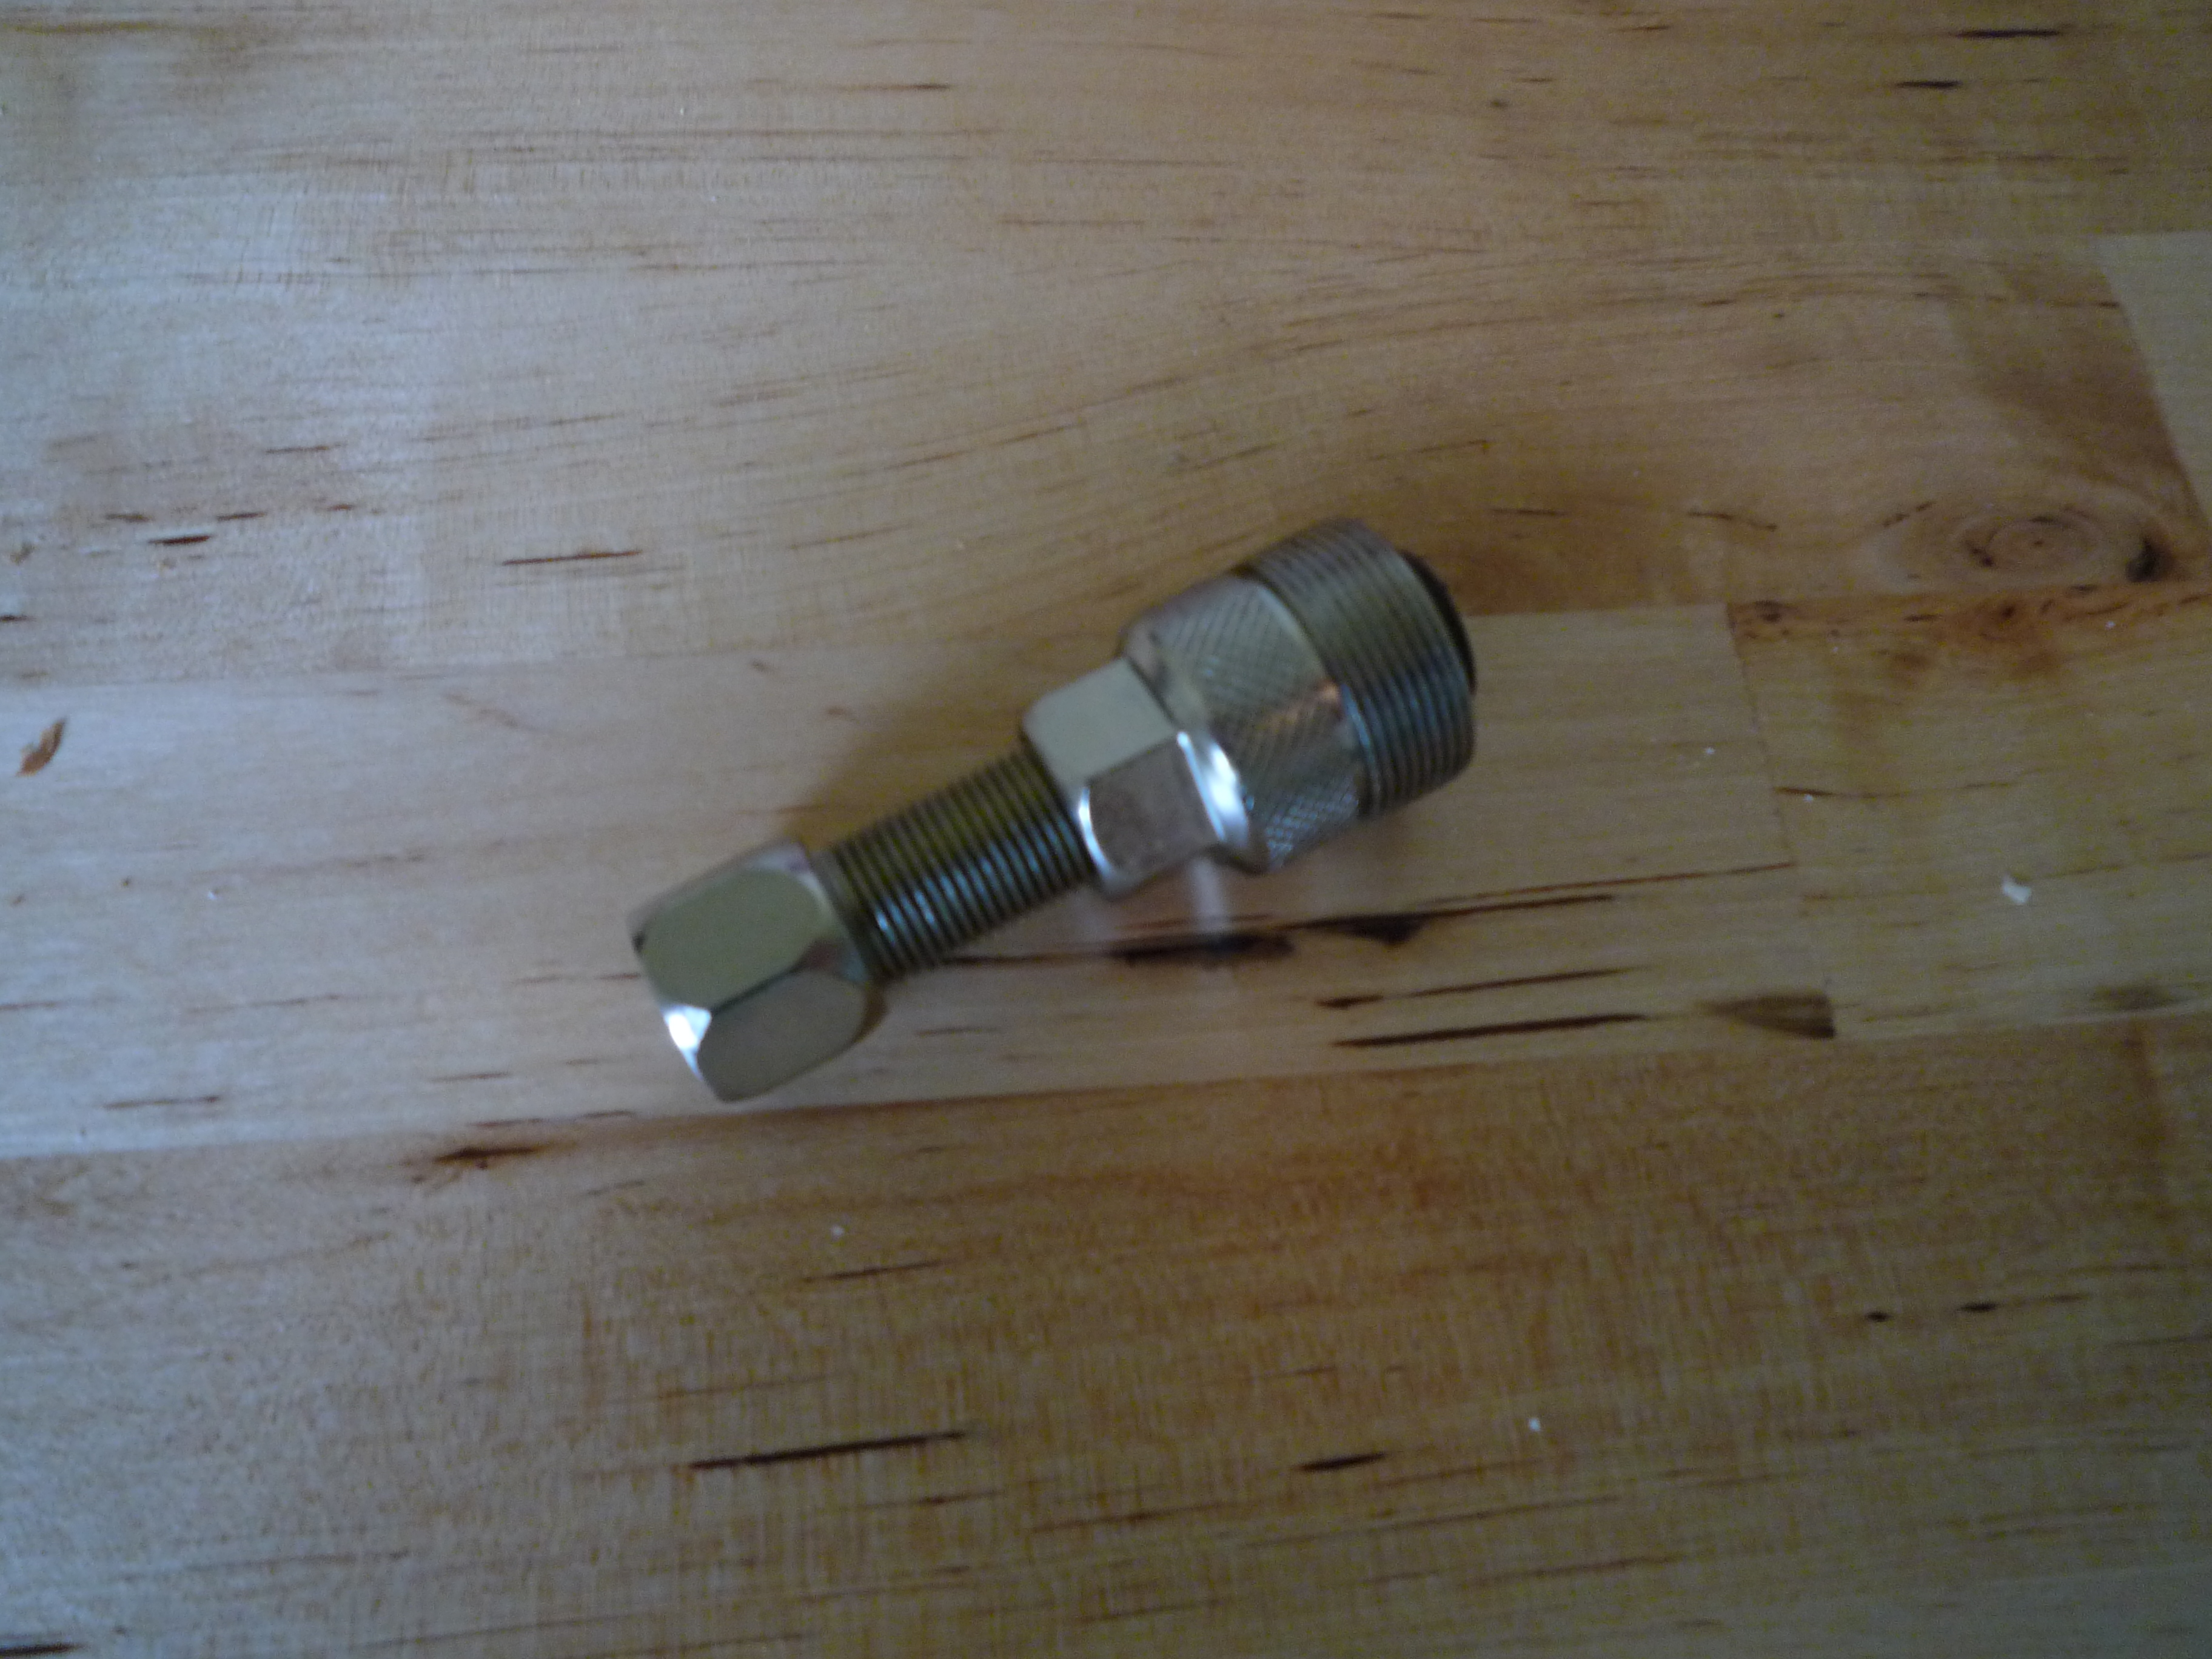
Now it's time to pull the cranks arms off the spindles, this is what the crank puller is for. If you're using a compact crank puller like mine it should look like this before you screw it onto the crank:

If you've ever used a pulley puller this thing operates in about the same way; by screwing the bolt part in you force the crank off of the spindle. Play around with until it makes sense, then attach the extractor to the crank arm. Screw the extractor's base onto the crank arm being careful not to cross the threads.
-
Turn the extractors bolt clockwise to force the crank arm off of the spindle. If you have to resort to drastic measures like this:

¡STOP YOU'RE DOING IT WRONG!
The crank arm will be on there tight, but not 100 ft/lbs tight. If you can't get the extractor to turn take it off the crank arm and make sure the tip is actually touching the spindle. I had to take the tip off of my extractor to get it to fit my cranks:

-
Remove the other crank.
-
Now it's time to remove the bottom bracket using the bottom bracket wrench:
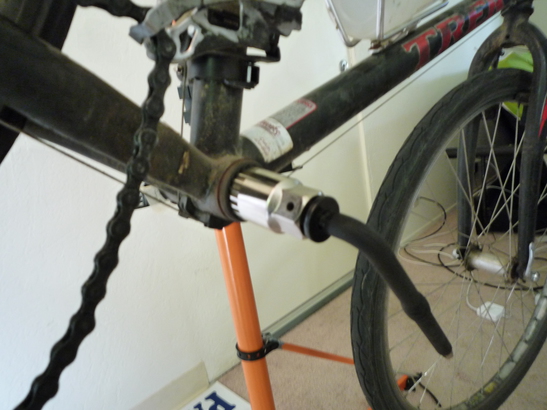
Put the splines of the bottom bracket tool into the slots of the bottom bracket cups, and wrench away.
¡VERY IMPORTANT OMG! The cup on the drive side of the bottom bracket (the side closer to the chain) is reverse threaded. Turn it clockwise to loosen it.
The cups might be really stuck on there. If they won't budge (and you've double checked to make sure you're turning the wrench the right way) feel free to resort to drastic measures. Breaker bars, cheater pipes, and liberal use of WD-40 are all options here.
-
Time to install the new bottom bracket. Grease the threads of the new cups (unless they're plastic). I used automotive grease:
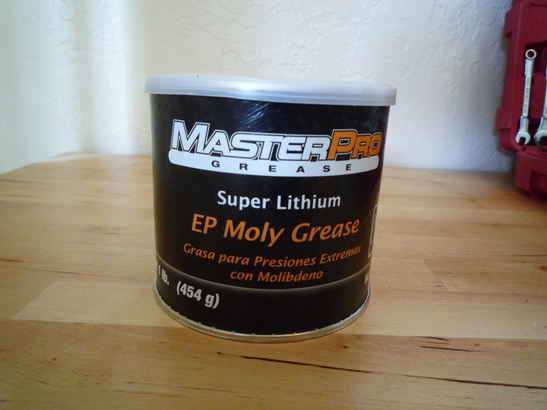
A lifetime supply of this stuff costs about $3. Some people recomend heavy duty or marine rated grease, I really don't think that's necessary for bicycles though.
If you have a torque wrench use it, otherwise just get the cups good 'n tight.
-
From here all that's left is to put the cranks back on (make sure they point in opposite directions). Tightening the crank nut will force the crank onto the spindle. Again, if you have a torque wrench use it (30ish ft-lbs).